
If you have a dripping tap, besides it being annoying, even the most minor of leaks can also significantly waste water. You’ll be amazed at how a dripping tap can add to your water bill. One tap in your home that drips at ten drops a minute can cost you over 100 litres a month. That works out to 1,200 litres a year!
A dripping tap can also cause rusty marks on your bath or basin in older homes where iron pipes still exist. While rust may not be harmful, it can certainly be an eyesore.
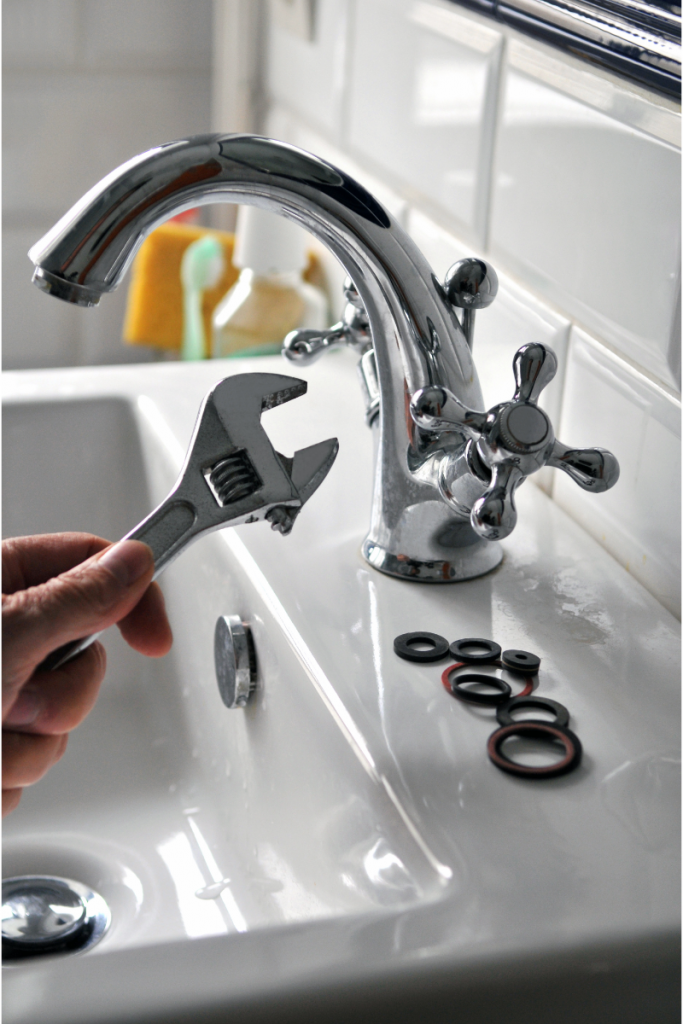
A tap washer is a small disk placed below the headgear of the tap to stop water from dripping from the tap. Once you’ve isolated the incoming water supply, replacing a tap washer is quite a simple household task that can be accomplished in 10 easy steps. If this is the first time you need to replace a tap washer, read on.
Step 1
Establish the tap size and the washer it should take and buy these first. Take a photo of your tap and measure the diameter of the tap to help when you head off to your local hardware store. Taps are usually either ½ inch or ¾ inch. You can usually buy a kit that has washers for various size taps.
Step 2
Once you have replacement washers in your possession, assemble the tools you may need – a couple of different size screwdrivers, some releasing agent (WD 40), an adjustable spanner, a cloth, and some soft white plumbers’ tape.
Step 3
The most crucial step is to turn off the water supply to avoid a geyser of water hitting the ceiling if things go wrong!
Step 4
Turn on the tap and release the water in the pipe first. Once the water has drained out, you’re ready for the next step. Remember to leave the tap in the on position.
Step 5
Pop off the cap with the H or C indicating hot or cold water, and remove the retaining tap handle screw on the top of the tap. Sometimes the screw may be on the side of the tap. Remove it and put it somewhere safe so you can find it again when you need to put it back in place. This is important!
Step 6
Over time, the build-up of scale can cause the tap handle to become stuck. If so, squirt releasing agent into the opening that was left when you removed the screw. Tap the handle gently with the spanner, cushioning the tap with the folded-over cloth so you don’t damage the finish. Once loose, you can pull the tap handle upwards and off.
Step 7
The headgear of the tap will now be exposed. Use the adjustable spanner to fit around the headgear. Unscrew and remove the headgear. Remember the mantra “lefty loosey, righty tighty” if you’ve never done this before. Turn to the left to loosen the headgear.
Step 8
At the bottom of the headgear, you’ll see the tap washer. It has probably perished over time and can be slipped off the bottom and replaced with a new tap washer. Sometimes the tap washer has a retaining nut over it, so you’ll need to release the nut before removing and replacing the washer. It is essential to clean the area where the tap washer sits with your cloth. Accumulated grime can prevent the washer from fitting snugly.
Step 9
If there was a nut holding the tap washer in place, replace this, then wrap some plumber’s tape neatly around the thread of the headgear to ensure it is watertight. Replace the headgear in position, put the handle back on the tap and tighten the screw that holds it in place. Pop the cover, if there was one, back on the tap handle.
Step 10
Switch the water on and let it flow for a little before gently turning the tap off. You should now have fixed the leak.
If you don’t feel confident about changing a tap washer, give HPG Solutions a call. We will check all the taps and valves in your home for leaks and replace tap washers quickly and efficiently. Contact us for more information today.
