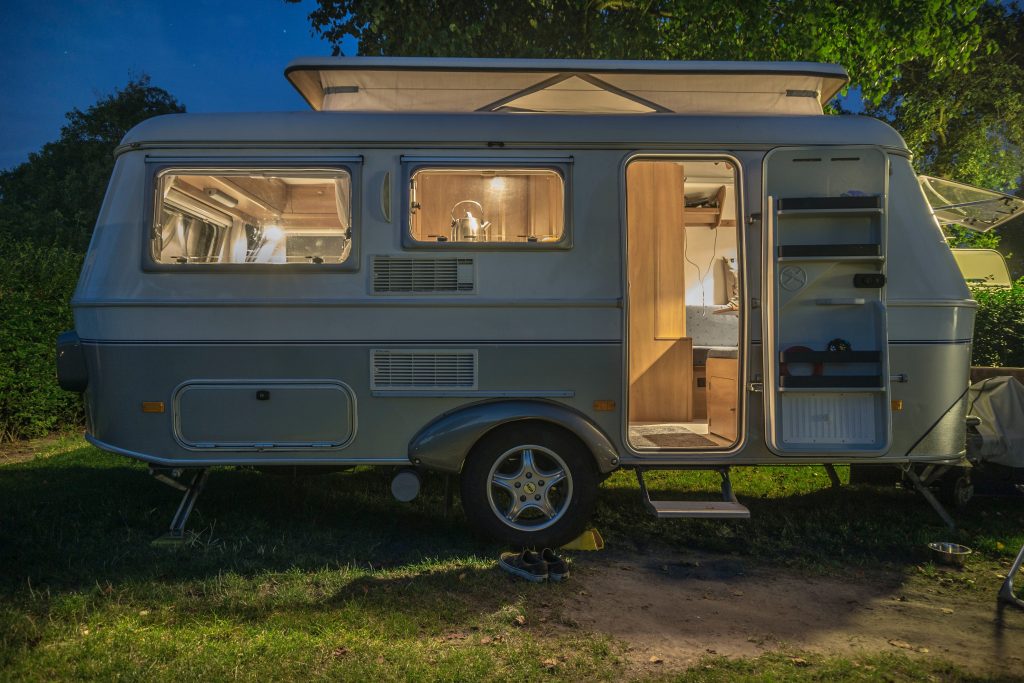
Summer is here, and it’s time to ensure the caravan plumbing is in tip-top condition before heading off into the great outdoors.
In the lead-up to pulling off with the caravan, you’ll have checked brakes, hitches, wheel bearings, and tyres. However, it’s the caravan plumbing fittings that can cause usually avoidable issues when on the road.
The following caravan plumbing checks need to be completed weeks before you head off. If something is seriously wrong, early identification means you can contact a caravan plumber to arrange repair without delaying your trip.
Here are some typical caravan plumbing areas to check:
- Water tanks
- Shower Leaks
- Water flow
- Water damage
- Appliances
- Air conditioning
- Countertops & cupboards
1) Water tanks
Freshwater: Make sure the freshwater tank is clean using CleanOxide.
Bacteria, fungi, algae and other organic substances can build up in tanks, so before you head out, ensure they are squeaky clean. Chlorine dioxide, approved by the World Health Organisation, is the safe way of sanitising freshwater tanks. Avoid using chlorine as carcinogenic trihalomethanes can build up over time.
Greywater: The greywater tank can be cleaned on the road.
Before the journey, pour dishwashing liquid down the sink with hot water. During the drive, it will mix with the water in the tank, dissolving the scum and grease build-up.
Empty the tank when you reach a park with the full hook-up. It may need two rounds of this treatment before being fully cleaned.
Blackwater: The tank holding toilet waste needs to be super clean; otherwise, odours will become a problem.
Depending on how often the toilet is used, clean it often using an all-purpose cleaner. Avoid bleach, as it can dry out rubber seals.
If there is still an odour after cleaning, accumulated gunk may be at the bottom of the tank. Pour ice blocks and an all-purpose cleaner into the tank, then go for a drive. The movement will cause the ice blocks to agitate on the bottom of the tank and loosen dirt, helped by the cleaner. Dump the water once the ice has melted.
2) Check for shower leaks
If the shower head leaks, the shower floor will be wet, leading to mould problems and potential slipping hazards.
Check the shower head fitting and drainpipe to locate the problem. You may need to see a professional caravan plumber to repair any issues.
If the shower tray has a minor crack, repair it with a sealant obtainable from your local hardware or caravan store. You may need to scour the area slightly before applying the sealant to ensure a better grip.
Afterwards, paint the tray with an anti-slip paint recommended for shower trays to create a new-looking finish. Make sure you have some caravan shower sealant when on the road and continue to check around the shower area for leaks.
With movement on the road, cracks can open up between the shower walls and flooring.
3) Check the water flow
If the flow is inconsistent, it could be that the water tank fittings need attention or the pipeline leading to the tap in the van is kinked or blocked.
Follow the line of pipe, checking for kinks that need straightening. If there is a blockage, you will need to flush the pipes. If the piping seems fine, the hot water tank’s anode rod may be the culprit or a filter at the water inlets.
It is also possible that the surge damper could be the problem. In that case, you may need the services of a qualified caravan plumber.
4) Check for water damage
When the caravan is in use, you may not notice water getting in.
Before the journey, check walls and floor for dampness as it can weaken and rot the flooring.
There are many possible culprits for the source of a water leak including the sink, shower, toilet inlet, washing machine or fridge.
5) Check appliances
Run the washing machine and dishwasher before you leave to ensure they are filling and emptying correctly and that there are no leaks.
Any loose connections can easily be tightened. If the problem seems more serious, get expert caravan plumbing assistance. Check the fridge and freezer units to ensure that water is not leaking. You don’t want a faulty seal to allow defrosting. Having ice on hand is very important in an Australian summer!
6) Air conditioning
Check for leaks on roof-mounted systems where they fit into the caravan’s pre-existing rooftop vent.
Though the ACs are designed to stop the water from getting into the van, movement can open up a gap during rough off-road journeys.
7) Countertops and cupboards
Because everything is so compact in a caravan, check the countertops for water damage from a nearby pipe or sink drainage point.
Often, cupboards will back onto a shower cubicle and need to be checked for any water or dampness problems. Identify leaks and take action to seal them, but if the problem is not a simple fix, then let the professional caravan plumber handle it.
There you have it – seven simple checks to ensure a carefree caravan holiday.
If you have encountered any serious problems with your caravan plumbing give HPG Solutions a call and let the expert caravan plumbers repair the issue. Our friendly caravan plumbing team is ready to help.

